Learn how to eliminate manual deployment headaches by integrating Vercel with GitHub Actions for seamless frontend releases. This step-by-step guide covers custom domains, serverless architecture, and securing your app with FusionAuth authentication—transforming code commits into live production apps instantly.
You've merged your latest frontend changes into GitHub. Now comes the real challenge: deployment. Manually building and pushing updates is error-prone and slow—especially for modern frameworks like Next.js or Vue. Enter Vercel: a cloud platform designed to automate deployments, leverage serverless infrastructure, and accelerate delivery via a global CDN. Here’s how to harness it with GitHub Actions and FusionAuth for a bulletproof workflow.

Why Vercel? The Deployment Revolution
Vercel specializes in frontend frameworks, offering:
- Instant Deployments: Automatically build and deploy on every Git commit.
- Serverless Architecture: Zero server management with scalable compute.
- Global CDN: Distribute assets worldwide for sub-second load times. Popular among React and Next.js developers, it also supports Vue, Svelte, and vanilla JS—making it a versatile backbone for modern web apps.
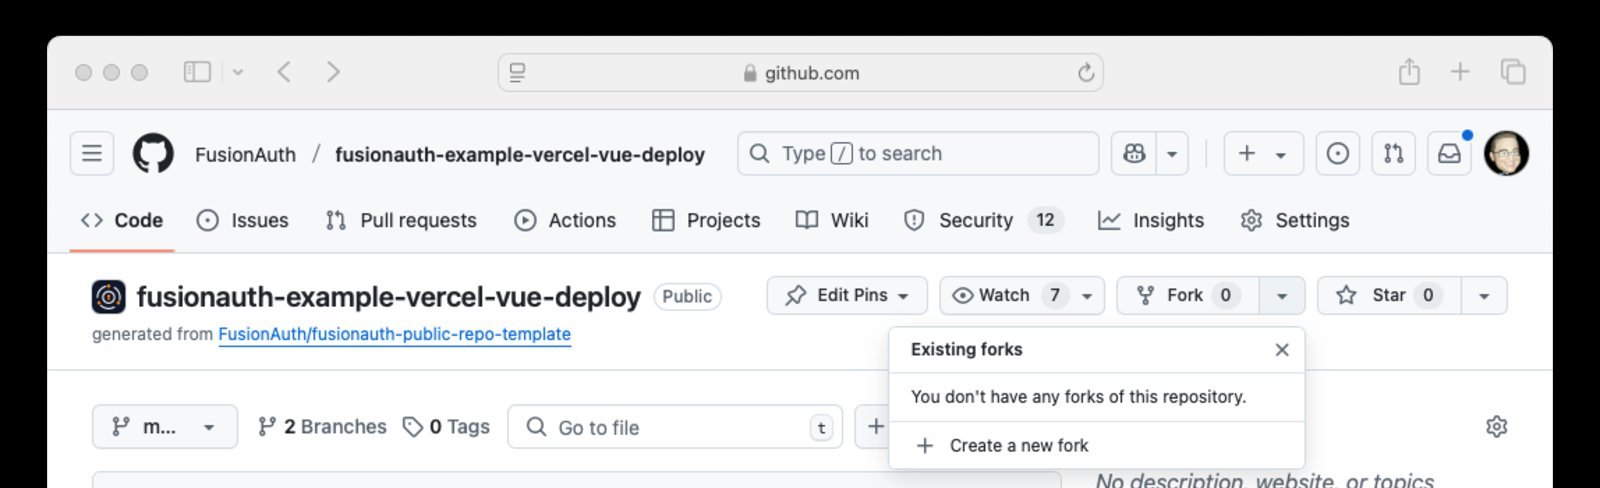
Step 1: Fork and Detach Your Repository
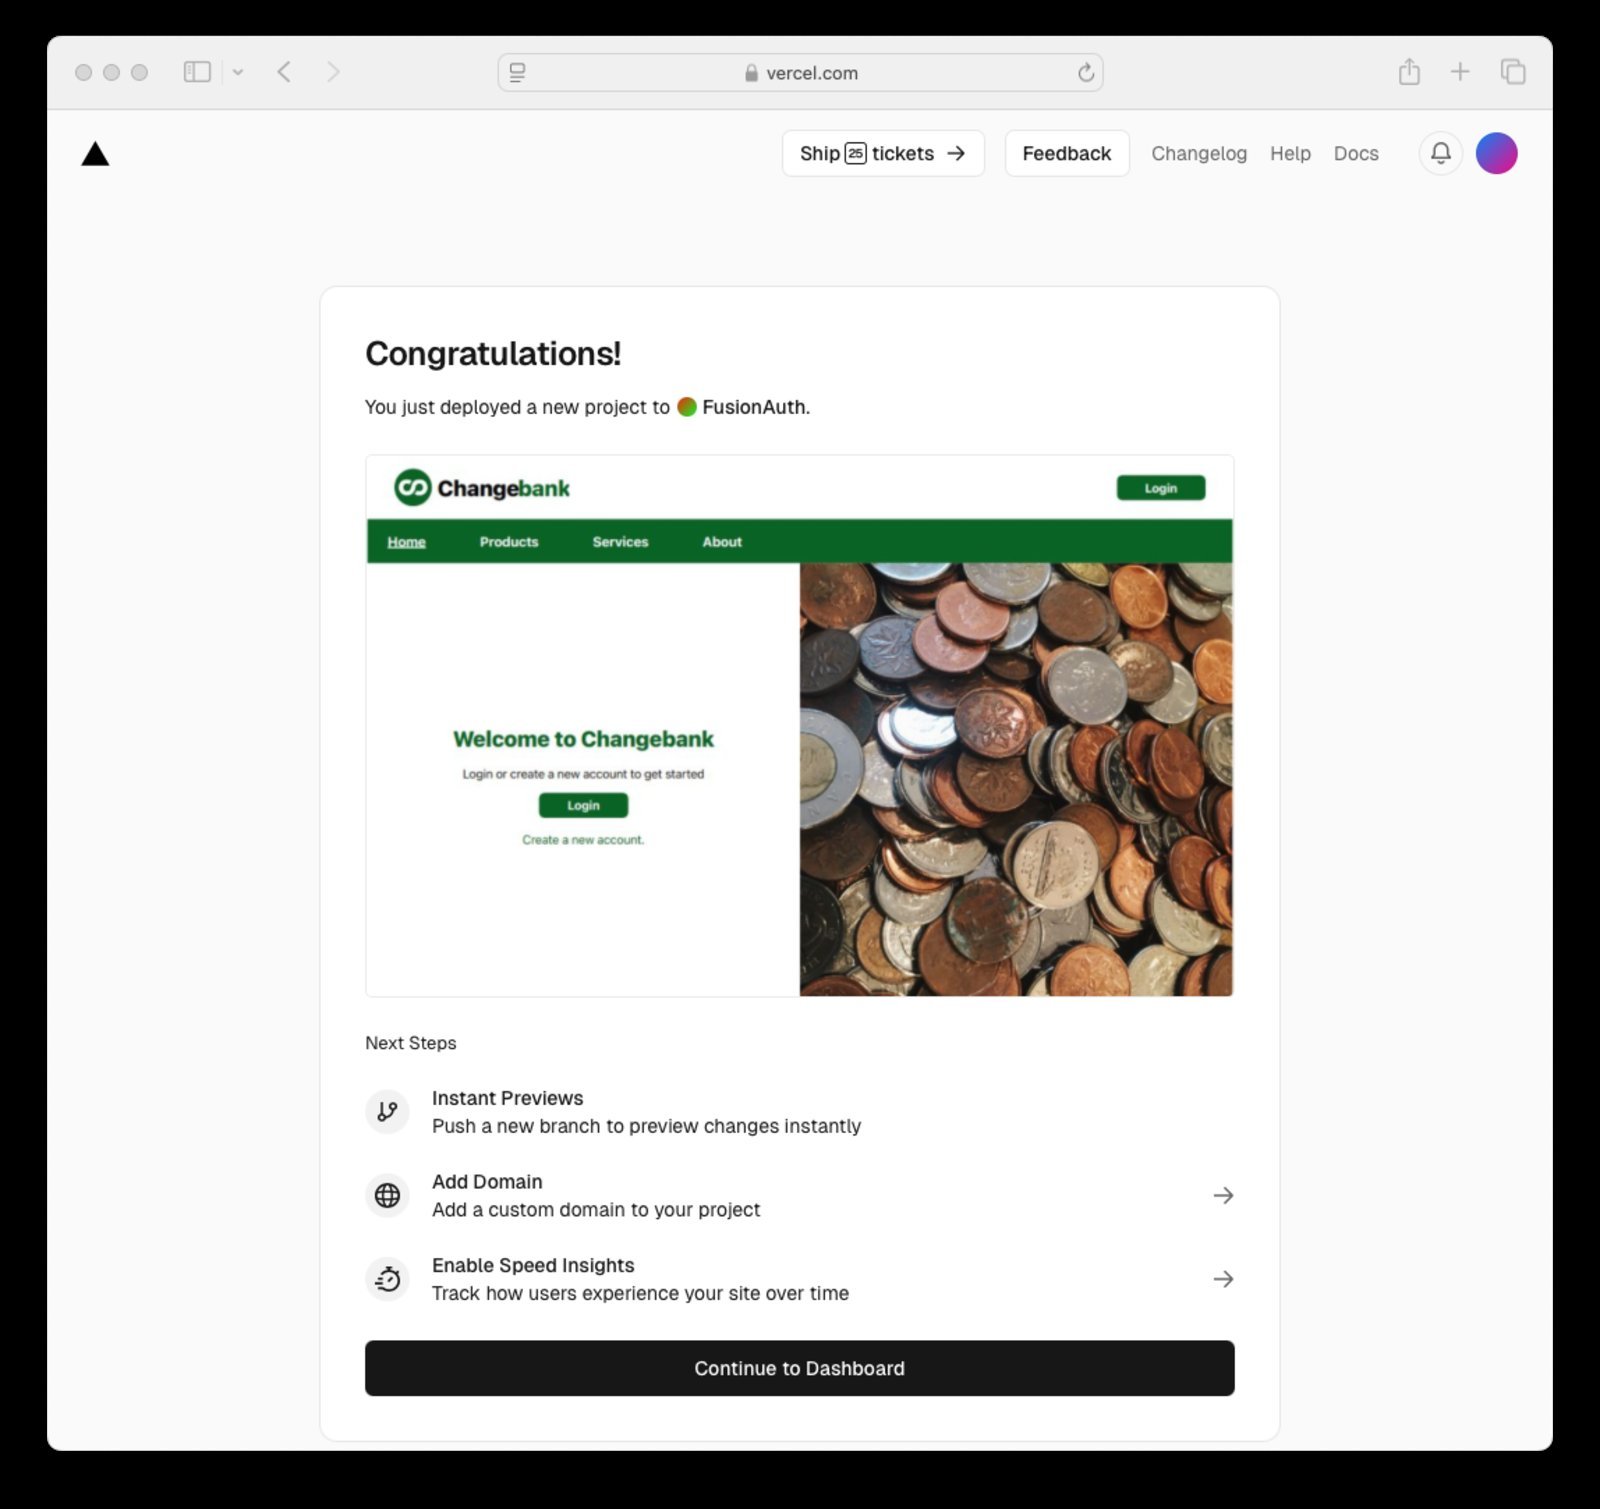
Begin by forking the FusionAuth example repo. This pre-configured Vue.js app includes GitHub Actions for Vercel integration. Critical step: Detach the fork to avoid accidental upstream commits. In your GitHub repository Settings, navigate to Danger Zone > Leave fork network. This isolates your copy for safe modifications.
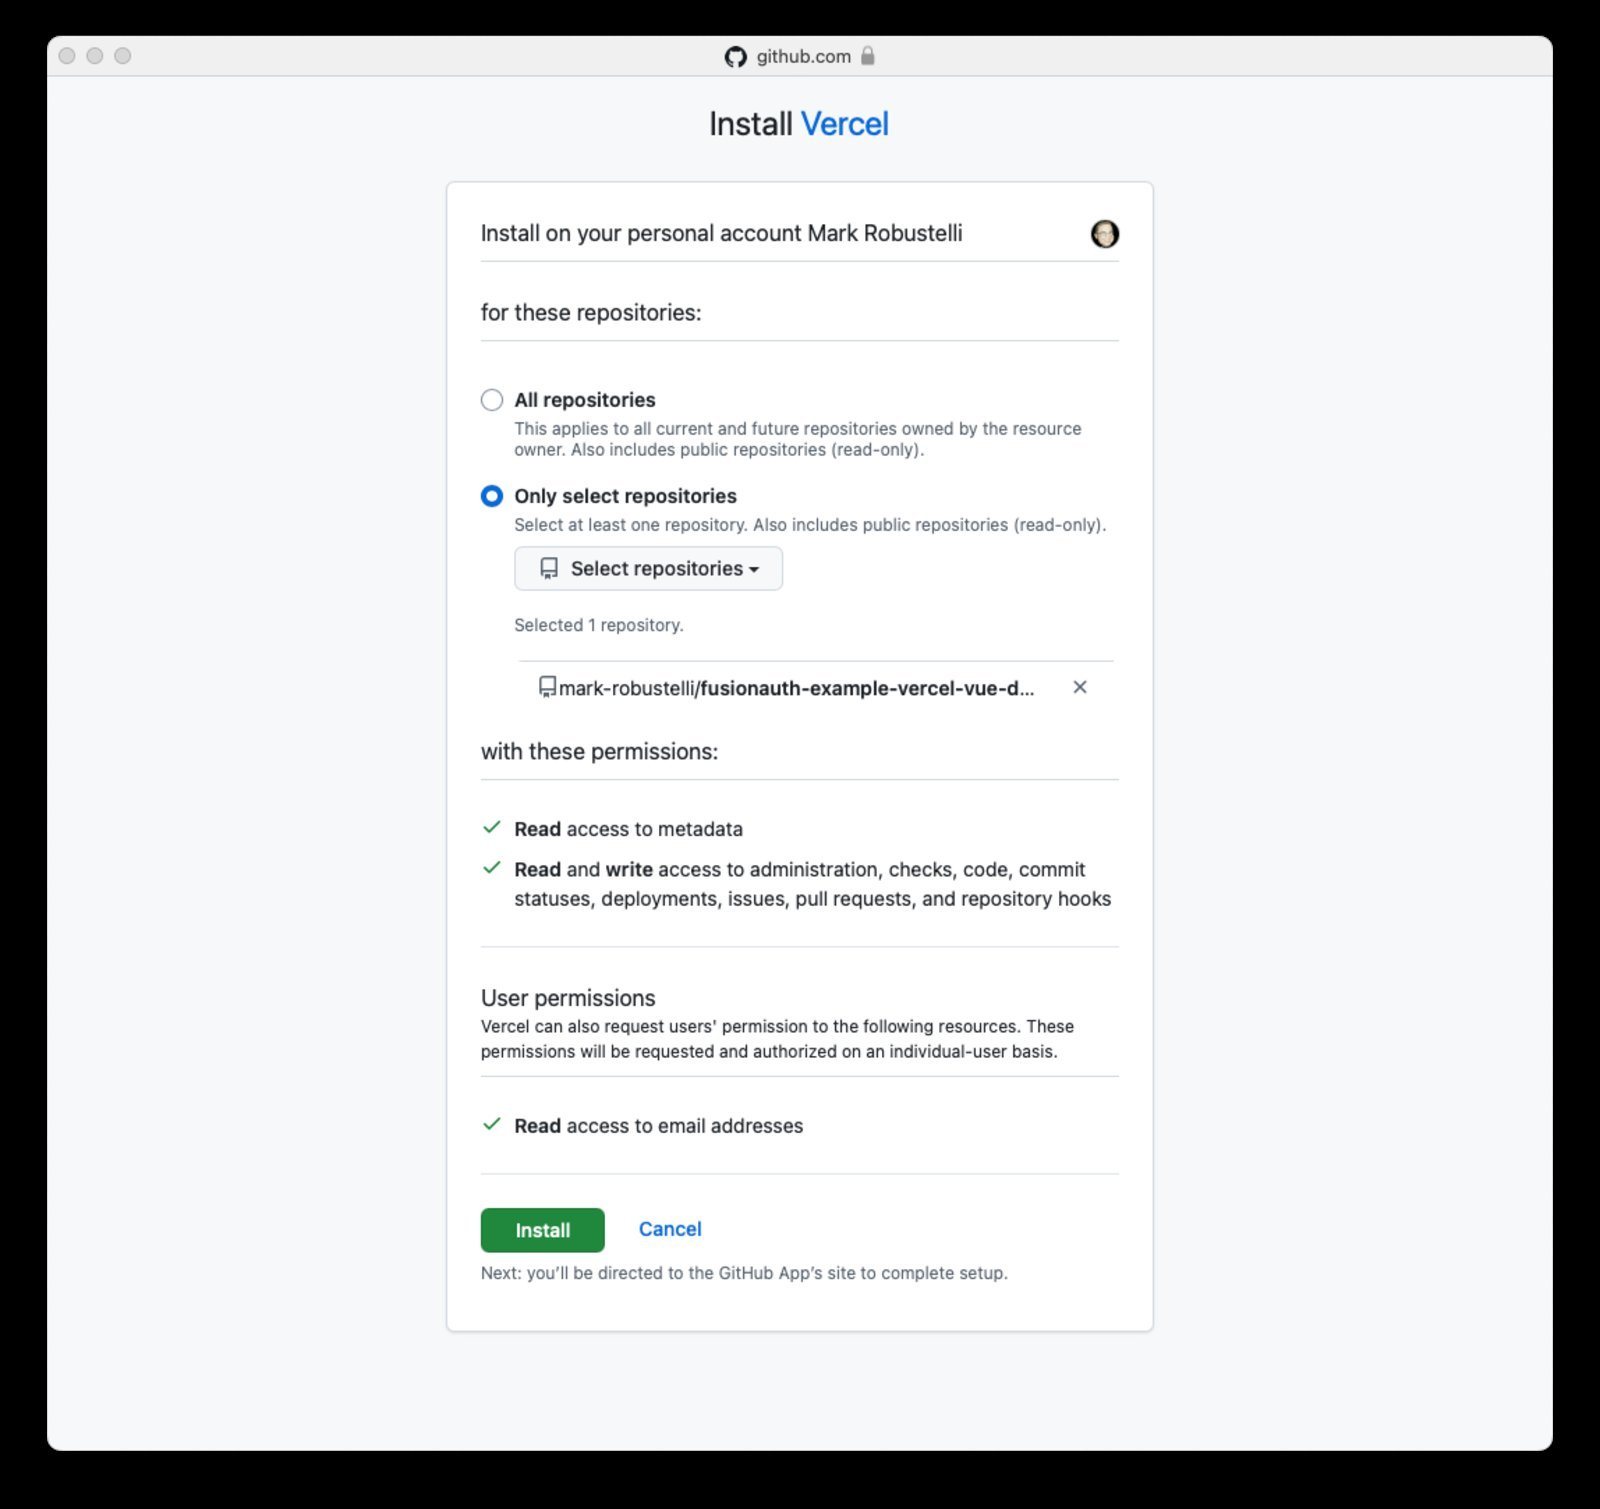
Step 2: Vercel Project Setup
- Link Vercel to GitHub: Authorize Vercel in your GitHub account settings, selecting your repository during installation.
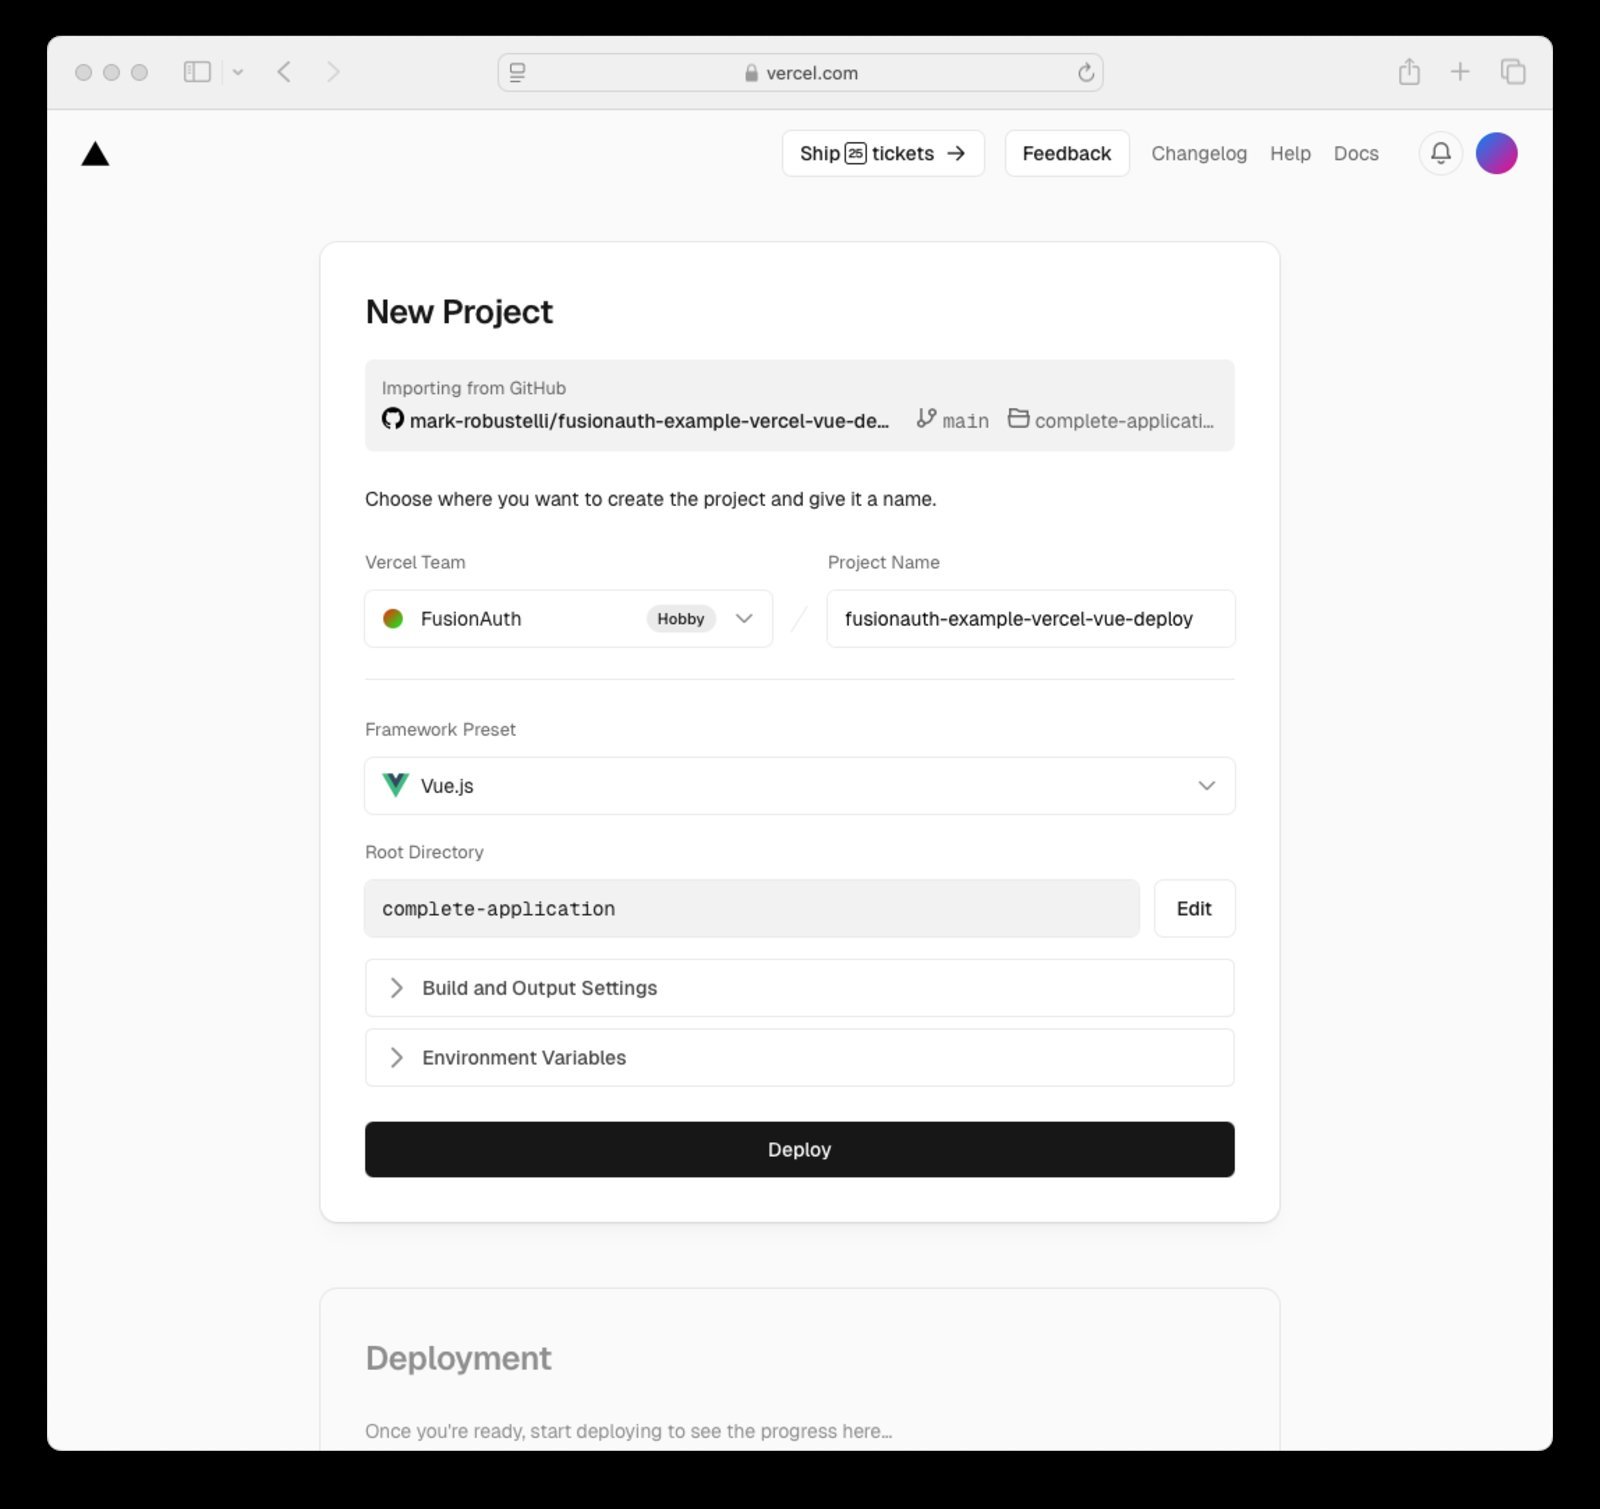
- Create a project: Import your repo, set the Framework Preset to Vue.js, and specify
complete-applicationas the root directory. - Manual test: Hit Deploy—Vercel builds your app and provides a temporary URL. Verify functionality before automating.
Step 3: Claim Your Custom Domain
Ditch auto-generated URLs. In Vercel’s Domains tab, add a subdomain like changebank.yourdomain.com. Then, configure a CNAME record with your DNS provider pointing to Vercel’s servers. Propagation might take minutes—patience ensures global accessibility.
Step 4: Automate with GitHub Actions
The repo’s .github/workflows/deploy-to-vercel.yml handles deployments but needs secrets:
- Secrets setup: In GitHub repo settings, add:
VERCEL_PROJECT_ID(from Vercel project settings)VERCEL_ORG_ID(your Vercel account ID)VERCEL_TOKEN(generate in Vercel Account Settings > Tokens)
- Enable Actions: Under GitHub repo Settings > Actions, allow all workflows.
Now, every git push triggers a build. Monitor runs in GitHub’s Actions tab—success means your app updates live within seconds.
Step 5: Integrate FusionAuth Authentication
Secure your app by updating main.ts with FusionAuth credentials:
const auth = new FusionAuth({
  clientId: 'YOUR_APP_ID', // Replace placeholder
  serverUrl: 'https://auth.yourdomain.com',
  redirectUri: 'https://changebank.yourdomain.com',
  postLogoutRedirectUri: 'https://changebank.yourdomain.com'
});
Commit changes. GitHub Actions deploys the update, linking to your FusionAuth instance for OAuth flows and user management.
Beyond the Basics: Production Realities
Automating deployments is exhilarating—but deploying straight to production is like tightrope walking without a net. Always implement environments: Use Vercel’s preview deployments for staging. Configure GitHub Actions to target development or production based on branches, catching bugs before users do. FusionAuth adds critical security, but token management and environment segregation are non-negotiable for sanity. Embrace this pipeline, and you’ll turn deployment friction into a silent background process—freeing you to code fearlessly, knowing every commit propels your app forward securely.
Source: Adapted from FusionAuth Blog: Deploying to Vercel
Comments
Please log in or register to join the discussion