A homelab-style experiment in mineral stabilization reveals why common adhesives fail for crumbly, uranium-rich rocks and demonstrates a two-step dilution process using polyurethane and acetone that achieves a clear, dust-free finish without cloudiness.
If you've ever handled crumbly, dusty minerals like Carnotite, you know the frustration. The material sheds fine, radioactive flakes, making it difficult to handle or display. Common adhesives like cyanoacrylate (CA) glue or polyvinyl acetate (PVA) often fail in this application. They pool in crevices, dry with a glossy, wet appearance that ruins the natural texture, and can leave a cloudy residue. For fluorescent minerals, which are often the target of such stabilization, clarity under UV light is non-negotiable.
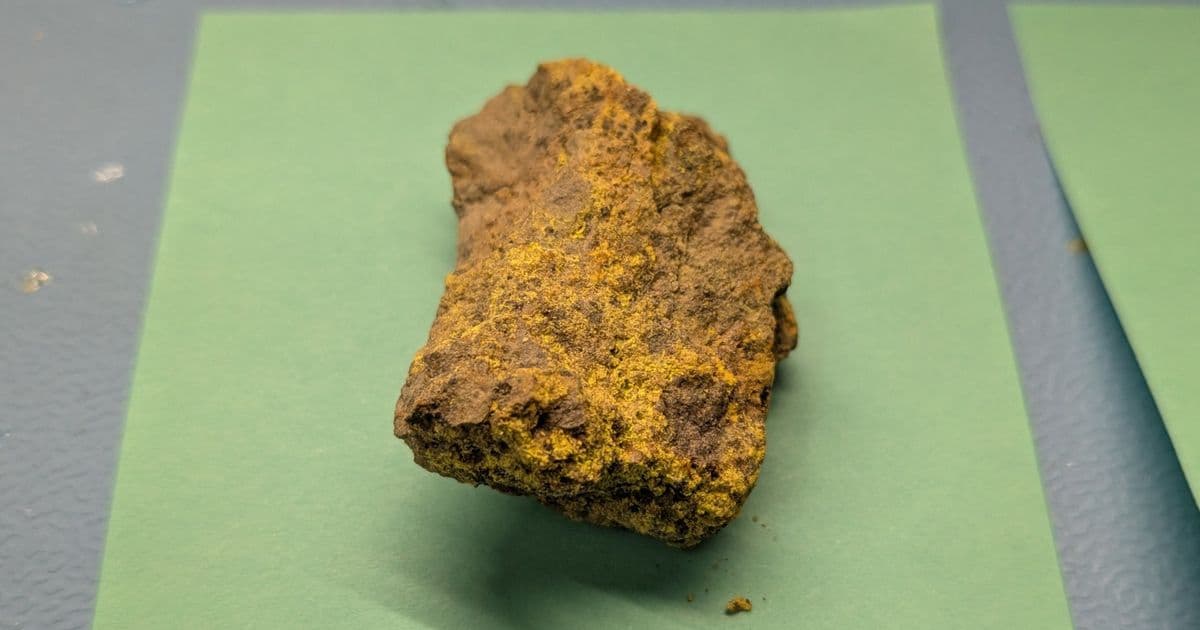
I recently acquired a batch of Carnotite from Utah, a mineral known for its bright yellow color and high uranium content. Its physical structure is weak, and handling it produces a fine, radioactive dust. The goal was to consolidate the rock without altering its appearance or fluorescence. After testing several methods, a diluted two-component polyurethane system emerged as the most effective solution.
The Problem with Common Adhesives
Cyanoacrylate (CA) Glue: This is a go-to for many rock stabilizers due to its fast cure time and strong bond. However, its low viscosity causes it to pool in cracks and on the surface, leaving a permanent glossy sheen. For rocks with natural texture, this artificial shine is undesirable. When I attempted to dilute CA with acetone to create a thinner, more penetrating solution, the results were counterproductive. The cyanoacrylate polymerized in solution as the acetone evaporated, leaving a porous, white foam instead of a clear film. The mixture worked as a paint but failed as a consolidant.
Polyvinyl Acetate (PVA): Similar to CA, PVA (e.g., wood glue) is excellent at binding particles together. However, it dries opaque and white, completely obscuring the rock's color and fluorescence. It's unsuitable for any application where visual clarity is required.
The Winning Formula: Diluted Polyurethane
The breakthrough came from using a two-component polyurethane, specifically IE-3075, which is inexpensive in bulk and UV-transparent. The key was not to apply it directly, but to dilute it with acetone to create a low-viscosity, penetrating solution.
The Recipe:
- 0.95 g IE-3075 Polyalcohol (Resin Part A)
- 1.05 g IE-3075 Isocyanate (Resin Part B)
- 20 ml Acetone
- Total Plastic: 2 g
- Dilution Ratio: ~1:10 (Resin to Acetone)
Why This Works:
- Penetration: The acetone drastically reduces the viscosity, allowing the resin mixture to seep deep into the rock's micro-fractures and pores. This is critical for binding the internal structure, not just coating the surface.
- Two-Stage Curing: The process is elegantly simple. First, the acetone evaporates, leaving a thin, liquid film of polyurethane resin. Second, the resin cures via moisture in the air (polyurethanes are moisture-sensitive). This sequential process prevents the clouding that occurs when solvents are trapped during polymerization.
- Clarity: The result is a crystal-clear finish that dries even on glass. For fluorescent minerals, the IE-3075 tested transparent at 356 nm, preserving the mineral's glow under UV light. Substituting other resins (like clear epoxy with a longer pot life) should yield similar results, provided they are UV-transparent.
Application Process and Caveats
Preparation is Key: The rock must be completely dry. Any residual moisture will trigger premature curing in the solution or cause bubbling in the final coat. A warm, dry environment is ideal for curing.
Application Method:
- For small pieces, a plastic pipette allows precise application, minimizing waste.
- For larger rocks, submersion ("dunking") is effective. The diluted solution will fully penetrate the porous structure.
- After application, wipe away any pooled liquid on the surface to prevent a thick, glossy layer.
- Allow the rock to cure in a warm place for several hours. The initial acetone evaporation is quick, but full resin curing takes time.
Critical Limitations:
- No Shelf Life: The diluted mixture is not stable. The acetone slows polymerization but does not stop it. The solution must be used immediately or discarded. Mixing small batches is recommended.
- Concentration Adjustments: The 1:10 ratio (2g resin to 20ml acetone) effectively reduced dust for my Carnotite sample. For extremely crumbly or porous material, a higher resin concentration (e.g., 1:5) may be necessary to achieve sufficient structural integrity. Testing on a small, inconspicuous area is always advised.
Final Results
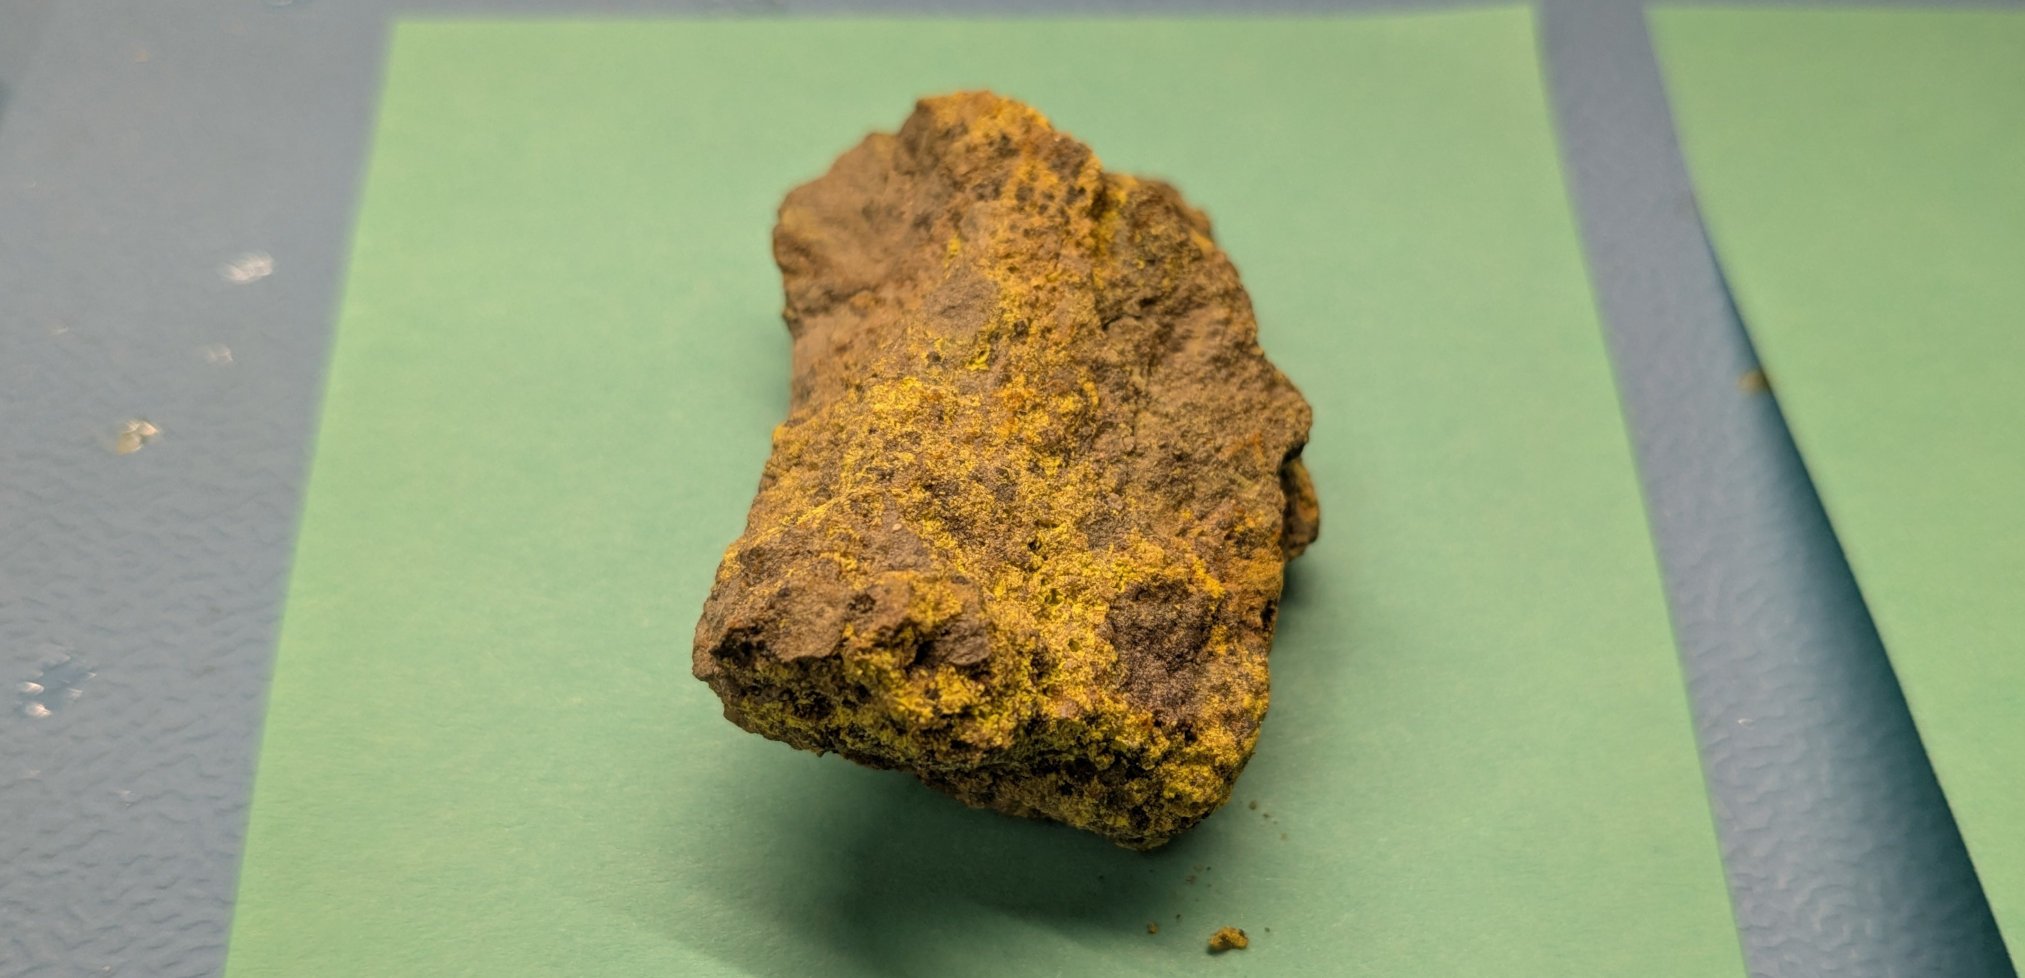 Before treatment: The Carnotite sample shows visible flaking and surface dust.
After applying the diluted polyurethane solution, the rock's color remained vibrant, and the surface texture was preserved. Most importantly, the dust production was eliminated. The thin, cured film bonded the loose particles together without creating a glossy, artificial layer.
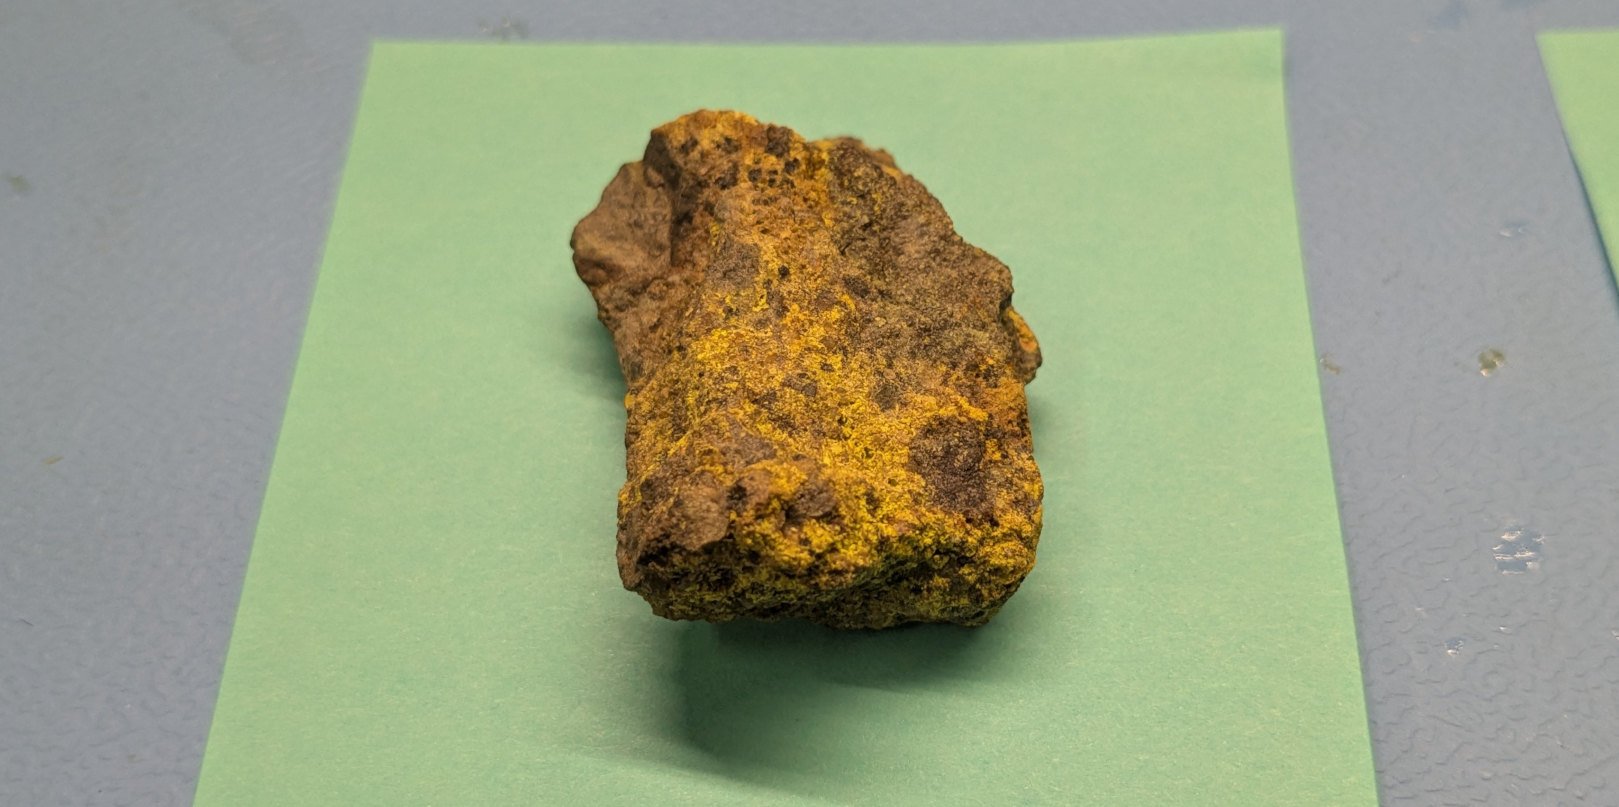 After treatment: The yellow color is intact, and the surface is now stable and dust-free.
This method provides a practical, effective solution for stabilizing delicate minerals. It addresses the core problems of penetration, clarity, and texture that plague common adhesives, offering a reliable technique for collectors and researchers working with fragile specimens.
Related Resources:
- For more on mineral stabilization techniques, see the Mindat.org community discussions on rock consolidation.
- IE-3075 polyurethane is a common industrial resin; similar formulations can be sourced from chemical suppliers like Cole-Parmer or McMaster-Carr.
Comments
Please log in or register to join the discussion