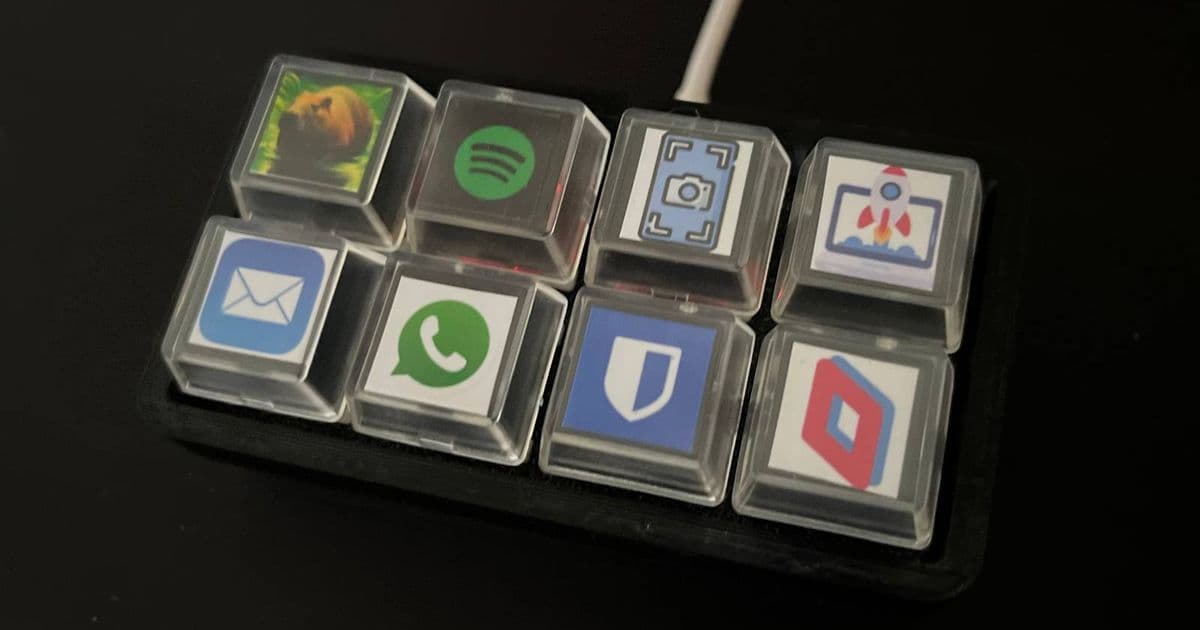
This article walks through a DIY alternative to the commercial Stream Deck using an ESP32 microcontroller. It covers the hardware needed, wiring steps, firmware setup, and practical ways to customize the button grid for streaming, productivity, or gaming workflows.
The Stream Deck has become a popular tool for creators who want quick access to macros, scene switches, and shortcuts. While the official device offers polished hardware and software, its price can be a barrier for hobbyists. A growing number of makers have turned to the ESP32 to replicate the core functionality at a fraction of the cost. This guide shows how to assemble a working button panel, program it with open‑source firmware, and tailor it to your own workflow.
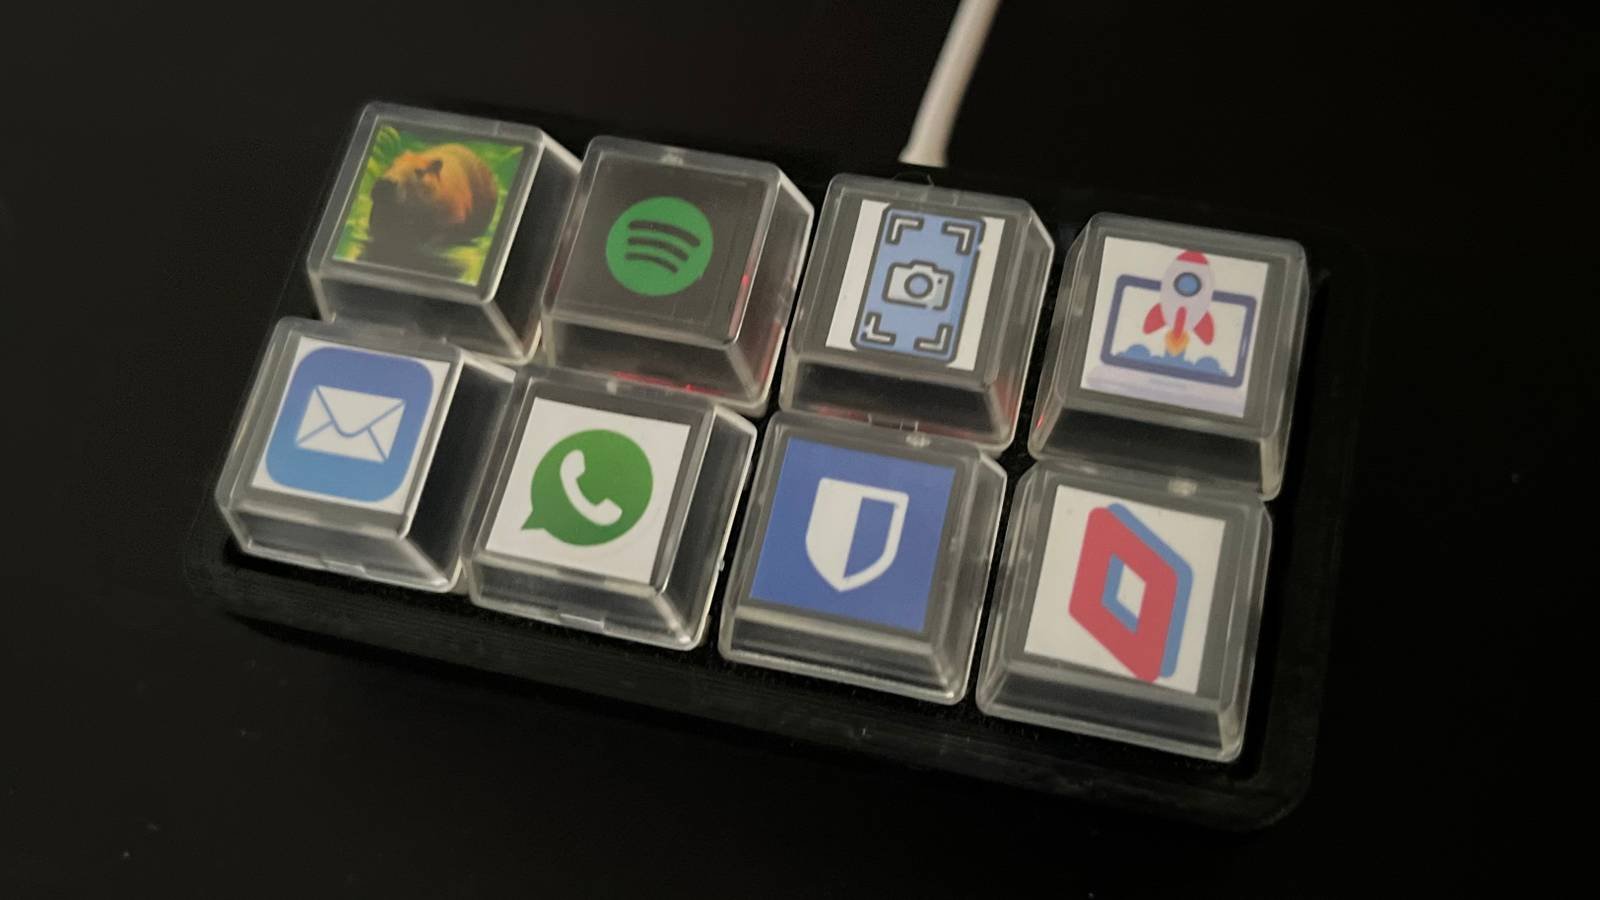
What a Stream Deck does A Stream Deck presents a grid of LCD keys that each can trigger a predefined action. Pressing a key sends a USB HID command or a network message to software such as OBS, Twitch, or a custom application. The original unit relies on a dedicated processor and proprietary SDK, but the same concept can be achieved with a general‑purpose microcontroller that emulates a USB keyboard or communicates over Wi‑Fi.
ESP32‑based alternative The ESP32 combines Wi‑Fi, Bluetooth, and enough GPIO pins to drive a matrix of buttons and small displays. By attaching tactile switches and optional OLED screens, you can create a panel that mimics the look and feel of a Stream Deck. The project uses the Arduino‑ESP32 core and a lightweight library that maps each button to a macro or a HTTP request.
Required hardware
- ESP32 development board (e.g., ESP32‑DevKitC)
- 4×4 or 6×4 tactile switch matrix (depending on desired key count)
- Optional 0.96" I2C OLED displays for each key
- Perfboard or custom PCB for mounting
- Jumper wires, soldering iron, and basic hand tools
- USB‑C cable for power and programming
All of these parts are available from common electronics distributors. The total cost typically stays under $20, far below the $150+ price of a commercial unit.
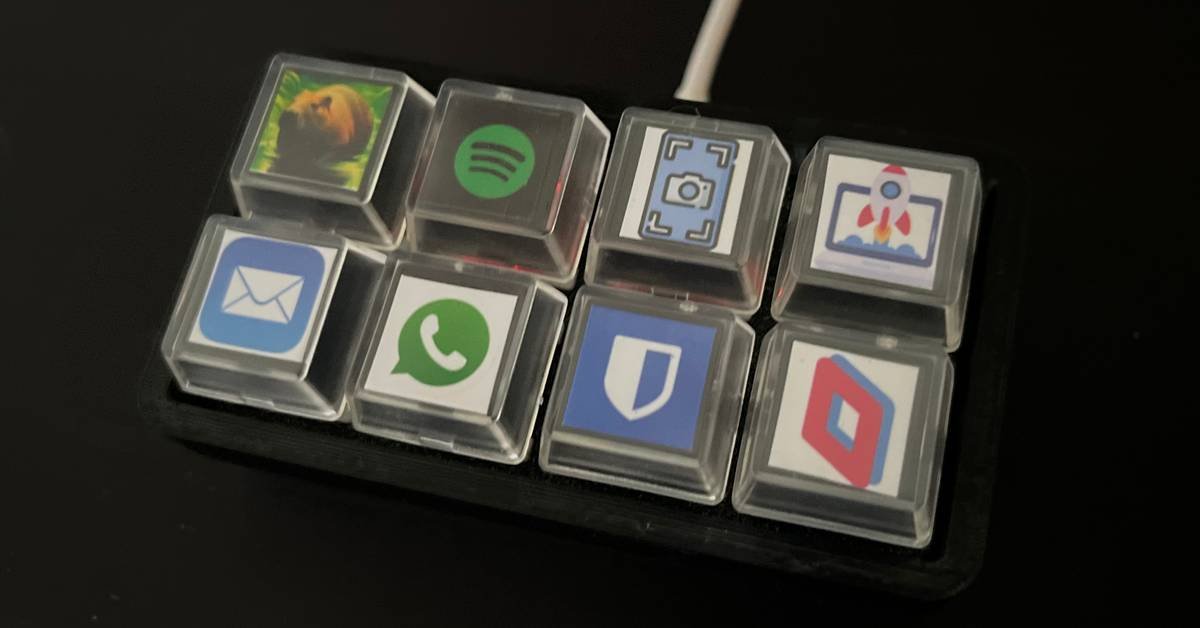
Wiring and assembly Arrange the switches in a rows‑and‑columns matrix to minimize the number of GPIO pins needed. Connect each row to a GPIO pin configured as an output and each column to an input with pull‑up resistors. If you add OLED screens, wire them to the I2C bus shared by the ESP32. Secure the board in a case or 3D‑printed frame so the buttons are accessible and the screen faces upward.
Software setup
Install the Arduino‑ESP32 board manager in the Arduino IDE. Include the ESP32Keyboard library to emulate a USB HID keyboard, or use WiFiClient to send HTTP requests to a local server. The sketch scans the matrix for button presses, debounces the signal, and then executes the assigned action. Actions can be:
- A keystroke combination (e.g., Ctrl+Shift+S)
- A multimedia command (play/pause, volume up/down)
- A GET request to a home‑automation endpoint
- A TCP message to a custom application running on your PC
You can store the mapping in EEPROM or a small JSON file, allowing you to reconfigure the deck without recompiling.
Example use cases Streamers often program the deck to switch scenes, trigger alerts, or launch chat commands. Productivity users map keys to launch frequently used apps, insert boilerplate text, or control music playback. Because the ESP32 can connect to Wi‑Fi, you can also integrate with smart home devices—turn lights on, adjust thermostats, or query sensor data with a single press.
Advantages and limitations The DIY approach offers full control over layout, button count, and functionality. You can expand the matrix, add rotary encoders, or incorporate haptic feedback without waiting for a vendor update. The trade‑off is that the build lacks the polished injection‑molded case and the official plugin ecosystem. Latency is generally low, but you must handle debouncing and USB enumeration yourself.
Conclusion Building a Stream Deck‑style controller with an ESP32 is an accessible project that delivers comparable functionality for a fraction of the price. By following the hardware list, wiring diagram, and sample code provided, you can create a personalized input device that adapts to your specific needs. Whether you stream, code, or manage a smart home, a custom button grid puts powerful shortcuts at your fingertips.
Comments
Please log in or register to join the discussion