
While digital sensors dominate modern photography, the fundamental chemistry of capturing light remains accessible to anyone with basic lab supplies. This guide explores two practical, low-toxicity processes—silver chloride and iron-based cyanotypes—that can be used to build a functional camera with exposures measured in minutes, not microseconds.
The oldest surviving photograph, View from the Window at Le Gras, was captured sometime in 1826 on a pewter plate coated with bitumen. It required an exposure of several hours. Two centuries later, we can replicate the core principles with household chemicals and a few simple tools. The key is understanding that photography is not magic; it's a controlled chemical reaction where light energy is converted into a permanent, visible change.
This guide focuses on two forgiving, low-toxicity processes ideal for the homelab builder: silver chloride printing and iron-based cyanotypes. Both are sensitive enough to work with, but slow enough to be manageable without a darkroom. We'll cover the chemistry, build a simple camera, and walk through the process of capturing an image from start to finish.
The Chemistry of Light Capture
Silver Chloride Process
Silver salts are the traditional foundation of photography. The process is straightforward, though it requires careful handling of silver nitrate.
Safety First: Silver nitrate solutions stain everything they touch—skin, clothing, and surfaces. Wear gloves and cover your work area. Stains can be removed with a solution of sodium thiosulfate and potassium ferricyanide, but prevention is better.
Paper Preparation: Not all paper is suitable. Many archival or buffered papers contain additives that interfere with the chemistry. If your paper is labeled "buffered" or "archival," soak it in a mild citric acid solution or vinegar before use.
The Process:
Sensitization: Brush a 10% silver nitrate solution onto watercolor paper and let it dry. Then, apply a 3% table salt (NaCl) solution. The two salts react to form silver chloride (AgCl), a white precipitate embedded in the paper fibers.
Ag(NO₃) + NaCl → AgCl(s) + Na(NO₃)Exposure: When exposed to light, the silver chloride decomposes into metallic silver and chlorine gas. The paper turns black as finely powdered silver forms.
2 AgCl(s) + hv → 2 Ag(s) + Cl₂ (gas)Fixing: To stop the reaction and remove unexposed silver chloride, wash the paper in water, then immerse it in a 5% sodium thiosulfate solution. A final water wash removes residual chemicals.
Key Considerations:
- Sensitivity: This process is extremely slow by modern standards. Exposures can range from minutes to hours in bright sunlight.
- Stability: Sensitized paper, if washed thoroughly and stored in the dark, can remain usable for years.
- Handling: Always work in dim light after sensitization to prevent premature darkening. Mark the coated side—it's indistinguishable from the back once dry.
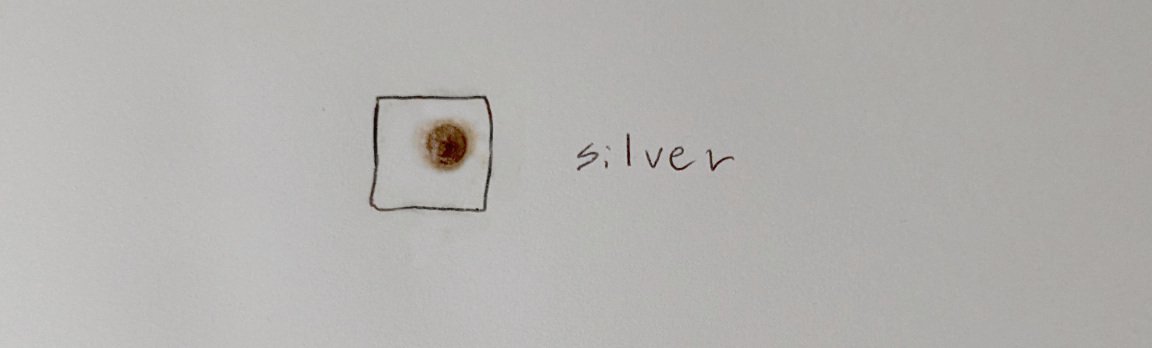
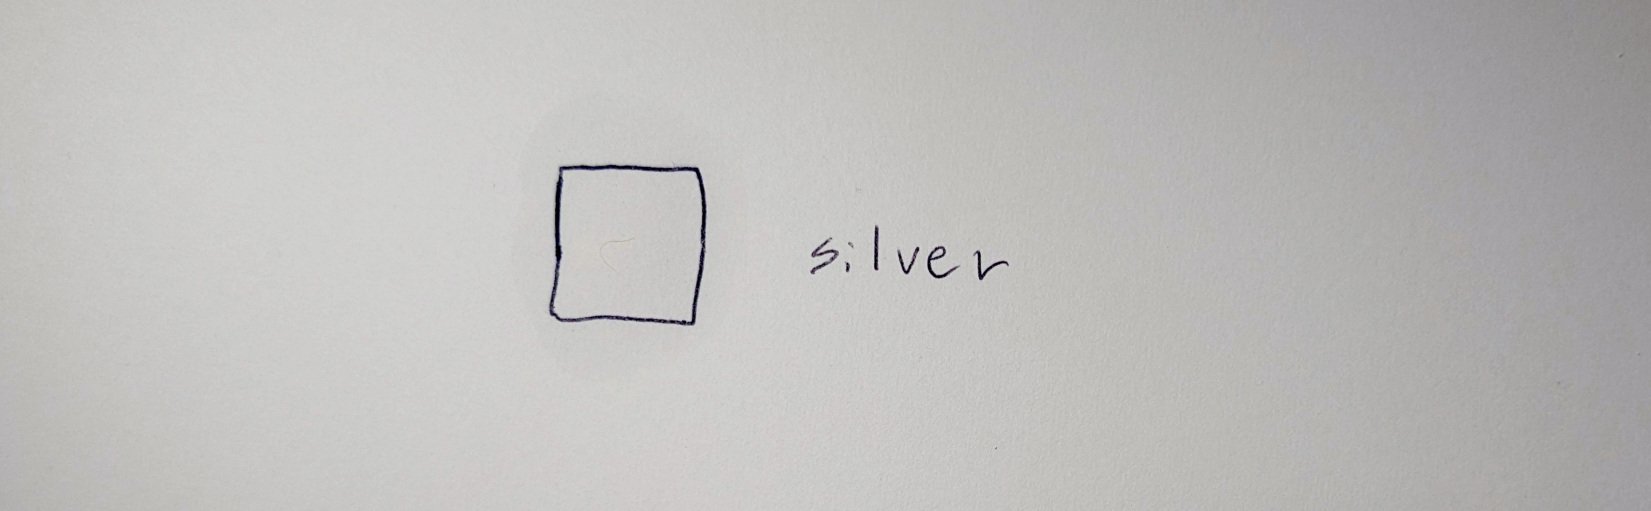 White paper with a box labeled 'silver' - This is what your sensitized paper will look like after the silver nitrate and salt applications.
Iron-Based Cyanotype Process
Cyanotypes, invented in 1842, use iron salts instead of silver. They are less toxic, don't stain as badly, and are more forgiving for beginners.
Chemistry: The classic cyanotype uses ferric ammonium citrate and potassium ferricyanide. When exposed to light, the citrate reduces iron from Fe³⁺ to Fe²⁺, which then reacts with ferricyanide to form insoluble Prussian blue.
Fe³⁺ + citrate³⁻ + hv → Fe²⁺ + acetonedicarboxylate²⁻ + CO₂
3 Fe²⁺ + Fe³⁺ + 2 Fe(CN)₆³⁻ → Fe₄(Fe(CN)₆)₃ (Prussian blue)
The Process:
Coating: Mix a solution of 5 parts ferric ammonium citrate and 2 parts potassium ferricyanide. Paint it onto paper. The coated paper must be kept in the dark until use.
Exposure: Light reduces the iron, forming the blue pigment. Overexposure can bleach the blue, but it can be restored with dilute hydrogen peroxide or by waiting for air oxidation.
Washing: Simply rinse the paper in water to remove unexposed chemicals. The Prussian blue is insoluble and permanent.
Advantages:
- Toxicity: While the name includes "cyanide," the compounds are relatively safe with basic precautions.
- Stability: The chemicals last for years if stored in the dark, though solutions can develop mold over time.
- Variability: Paper preparation is less finicky than with silver salts.
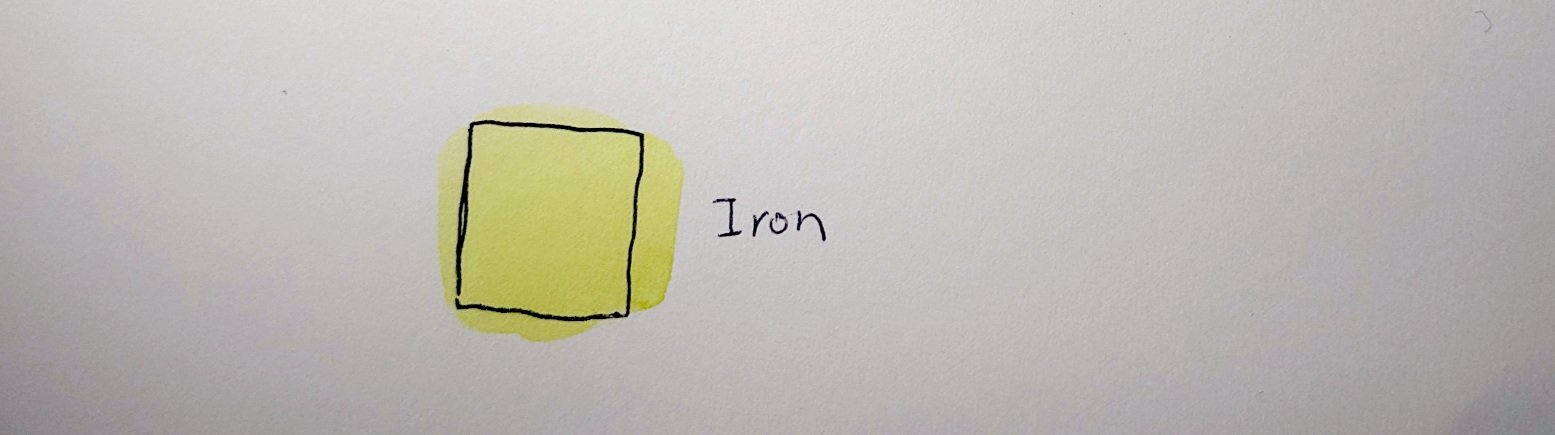 Yellow stained paper - This shows the result of an overexposed cyanotype where some of the Prussian blue has been reduced.
Building a Functional Camera
The Core Principle
A camera is simply a light-tight box with a lens that projects an image onto a photosensitive surface. The distance between the lens and the surface (the focal plane) must be adjustable to achieve focus.
Simple Camera Design
You can use an old 35mm film camera as a base. Remove the film transport and pressure plate, then tape your sensitized paper into the back. For a custom build:
- Light-Tight Box: Use a sturdy cardboard box or a 3D-printed enclosure.
- Lens: A simple magnifying glass or a telescope eyepiece works. The key parameter is focal length. A shorter focal length (e.g., 25mm) captures more light but produces a smaller image. A longer focal length magnifies but requires more light.
- Focusing Mechanism: The lens must be adjustable along the optical axis. A threaded mount or a sliding rail is ideal.
- Shutter: A simple sliding cover or a lens cap that can be removed and replaced quickly.
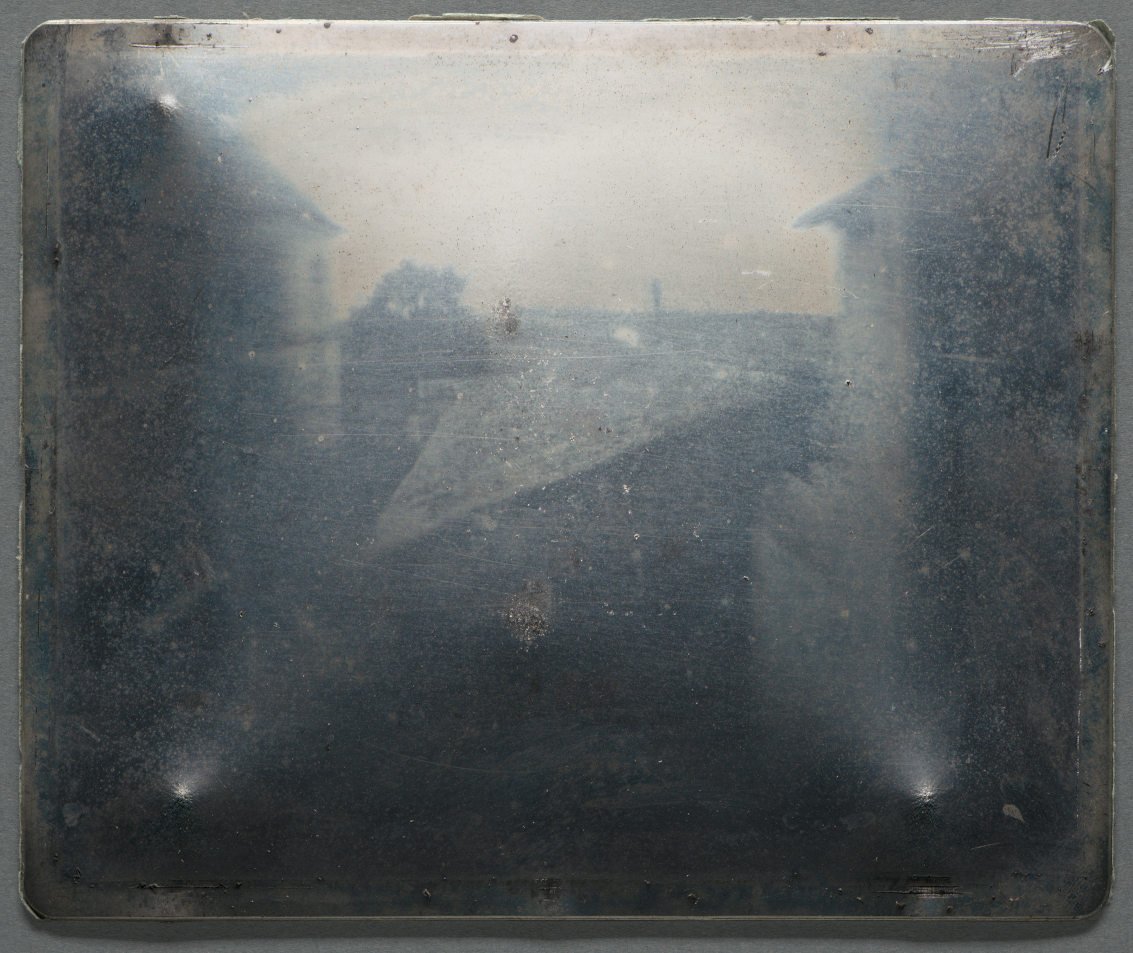 A ghostly image of rooftops, recorded on a polished metal plate - This is the aesthetic you're working toward: a direct capture of reality.
Exposure Calculations
Modern cameras use ISO, aperture, and shutter speed. For alternative photography, we derive these from first principles.
ISO (Sensitivity): This is extremely low. For silver chloride, I estimate an effective ISO of 0.00002. For cyanotypes, it's slightly better but still in the same ballpark.
Aperture (f/stop): The focal ratio (focal length / aperture diameter) controls light intensity. A lower f-number (e.g., f/2) gathers more light. Use a lens with a large physical aperture to minimize exposure time.
Shutter Speed: This is the critical variable. In direct sunlight, exposures for silver chloride can be 45 minutes or more. Cyanotypes are faster—often 10-30 minutes.
Example Exposure:
- Lens: 25mm Plössl eyepiece (f/2-ish)
- Light: Direct sunlight
- Exposure Time: 45 minutes
- Result: A recognizable image of a house, parking lot, or tree.
Practical Tips
- Focusing: Without a viewfinder, you can check focus by looking at the photographic paper itself in dim light. Adjust the lens distance until the projected image is sharp.
- Contrast Control: If images are too harsh, try "pre-flashing." Briefly expose the entire paper to a weak light source before loading it into the camera. This moves the paper out of the flat region of its transfer function, preventing clipped shadows.
- Light Source: The sun is fastest. UV lamps are next. Bright white LEDs are slowest but usable indoors.
Applications and Variations
Photograms
The simplest method is placing an object directly on the sensitized paper and exposing it to light. This creates a silhouette. It's perfect for testing chemistry and understanding exposure.
 Dark gray spot on the paper - This could be the result of a photogram where an object blocked light, leaving the surrounding area exposed.
Contact Printing
Print an inverted digital image onto a transparency sheet. Place the transparency on the sensitized paper and expose. This is how technical diagrams were reproduced before computers—hence the term "blueprint."
Camera Obscura
Before lenses, a pinhole camera could project an image. The same principle applies here: a tiny hole in a light-tight box projects an inverted image onto the opposite wall. With a photosensitive surface, you can capture it. The exposure times are even longer, but the simplicity is appealing.
Troubleshooting and Refinement
Common Issues
- Fogging: Unintended darkening of the paper. Caused by insufficient washing or light leaks. Always work in dim light after sensitization.
- Weak Images: Underexposure. Increase light intensity (use the sun), extend exposure time, or use a lens with a lower f-number.
- Uneven Coating: Streaks or blotches. Apply chemicals evenly with a soft brush. For cyanotypes, a foam brush works well.
Chemical Longevity
- Silver Solutions: Silver nitrate can last indefinitely if stored in amber glass bottles away from light. Sodium thiosulfate solution should be mixed fresh every few months.
- Iron Solutions: Ferric ammonium citrate degrades in light. Store in a dark bottle. Potassium ferricyanide is stable.
Paper Selection
- Weight: 90-140 lb watercolor paper works well. It's thick enough to handle washing but thin enough to allow light penetration.
- Texture: Cold-pressed paper gives a more interesting texture but can be harder to coat evenly.
- Acidity: Neutral or slightly acidic paper is best. Avoid alkaline buffers.
The Homelab Builder's Perspective
This project is a perfect intersection of chemistry, optics, and hands-on experimentation. It forces you to think in terms of physical constraints: light intensity, chemical reaction rates, and mechanical precision. The results are tangible and deeply satisfying.
Compared to digital photography, alternative processes are slow and unpredictable. But that's the point. Each image is a unique artifact, shaped by the specific conditions of its creation. The long exposures capture a sense of time that a 1/1000th-second shutter cannot.
For those with a homelab, this is a chance to apply lab skills to a creative outlet. The chemistry is simple enough to be safe but complex enough to be interesting. The optics are a lesson in focal lengths and light gathering. And the final product is a photograph that exists in the physical world, not just as pixels on a screen.
Resources
- Chemical Suppliers: Silver nitrate and sodium thiosulfate are available from lab supply companies like Sigma-Aldrich or Fisher Scientific. For hobbyists, Bostick & Sullivan specializes in alternative photography chemicals.
- Paper: Arches or Strathmore watercolor paper is a good starting point.
- Lenses: Telescope eyepieces, magnifying glasses, or salvaged camera lenses can be repurposed. Check eBay or local astronomy clubs.
- Further Reading: The Cyanotype Page has extensive tutorials. For silver processes, see the Alternative Photography website.
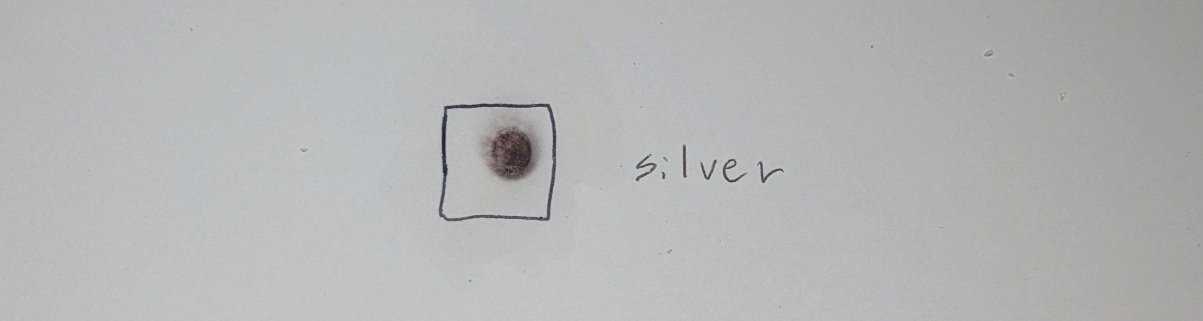
 Dark brown spot on paper - This could be an overexposed silver chloride print where the silver has oxidized to a brown hue.
Conclusion
Building a camera from 19th-century chemistry is more than a nostalgia trip. It's a practical exercise in understanding the fundamental physics and chemistry of image capture. The processes are slow, the results are imperfect, but the learning is profound. For the homelab builder who measures everything, this project offers a new set of variables to optimize: exposure time, chemical concentration, lens focal length, and paper preparation. Each variable is a lever you can pull to shape the final image. And in the end, you have a photograph that is truly your own—a piece of reality caught in a chemical trap, pinned up for display.
Start with a simple photogram. Then build a camera. Measure your exposures. Document your chemical ratios. The process is as much about experimentation as it is about the final image. And unlike digital photography, every step is visible, tangible, and deeply connected to the physical world.
Comments
Please log in or register to join the discussion