Learn when and how to apply CVE‑level exceptions in Microsoft Defender Vulnerability Management, understand the difference from recommendation exceptions, and see the impact on inventory, scoring and threat analytics.
How to Exclude Specific CVEs with CVE Exceptions in Microsoft Defender Vulnerability Management
Microsoft Defender Vulnerability Management (MDVM) gives security teams a single pane for tracking software weaknesses across the enterprise. A common source of confusion is the choice between CVE exceptions and recommendation exceptions. Selecting the wrong type can hide more risk than intended, because a recommendation exception suppresses every CVE tied to that recommendation, while a CVE exception removes only the single vulnerability you have explicitly decided to ignore.
What changed?
MDVM now surfaces a dedicated CVE exception workflow on the CVE details page. This workflow lets you:
- Define a precise scope (global or specific device groups).
- Choose a justification from a curated list (e.g., No vendor patch, False positive, Risk accepted).
- Set a time‑bound duration – once the period ends the CVE re‑appears in inventory automatically.
The change aims to improve risk visibility by encouraging narrow, documented exclusions instead of blanket recommendation suppression.
Provider comparison – CVE exception vs. recommendation exception
| Aspect | CVE Exception | Recommendation Exception |
|---|---|---|
| What is excluded | A single CVE (e.g., CVE‑2026‑28387). |
The entire recommendation and all CVEs it contains. |
| Where you create it | From the CVE details page → Exception options. | From the related security recommendation page. |
| Scope of impact | Only the selected CVE is hidden for the chosen device groups or globally. | The whole recommendation becomes inactive for the chosen scope. |
| Justifications | CVE‑specific reasons such as No patch, False positive, Alternate mitigation. | No CVE‑specific justifications; only a generic “Recommendation not applicable”. |
| Result on status | CVE status changes to Exception (global) or Partially active (device‑group). | Recommendation state changes to Full exception or Partial exception. |
Key takeaway: Use a CVE exception when you need surgical precision; use a recommendation exception only when none of the CVEs in that recommendation apply to your environment.
Business impact of choosing the right exception type
- Risk visibility – Keeping unrelated CVEs active ensures dashboards continue to surface genuine threats, preserving the usefulness of the exposure score and Secure Score metrics.
- Auditability – CVE‑level justifications are recorded with the exception record, making it easier for auditors to trace why a specific vulnerability was ignored.
- Operational efficiency – Scoped device‑group exceptions prevent accidental suppression of future assets that may be vulnerable, reducing the need for corrective work later.
- Score integrity – Because the score impact is driven by scope rather than justification, a global CVE exception will adjust the exposure score for the entire tenant, while a device‑group exception only affects the groups you selected.
When to use a CVE exception – common scenarios
| Scenario | Why a CVE exception fits |
|---|---|
| No vendor patch | The vulnerability exists but the vendor has not released a fix. You can monitor the issue while the patch is pending. |
| False positive | Investigation shows the CVE does not apply to the affected configuration. Suppressing only that CVE avoids hiding other legitimate findings. |
| Risk accepted | Business owners have formally accepted the residual risk for a specific asset group. Document the decision with the Risk accepted justification. |
| Planned remediation | A patch is available but must pass change‑management testing. Set a realistic duration that matches your rollout calendar. |
| Alternate mitigation | An internal control (e.g., a WAF rule) already mitigates the vulnerability. Record the mitigation in the justification field. |
Do not create a CVE exception simply because a patch is hard to apply; instead, assess whether a broader recommendation exception is more appropriate.
Step‑by‑step: Creating a CVE exception in the Defender portal
- Prerequisites – Verify you have the Exceptions handling permission in your RBAC role (Settings → Endpoints → Roles). CVE exceptions are currently portal‑only; the public API does not support them.
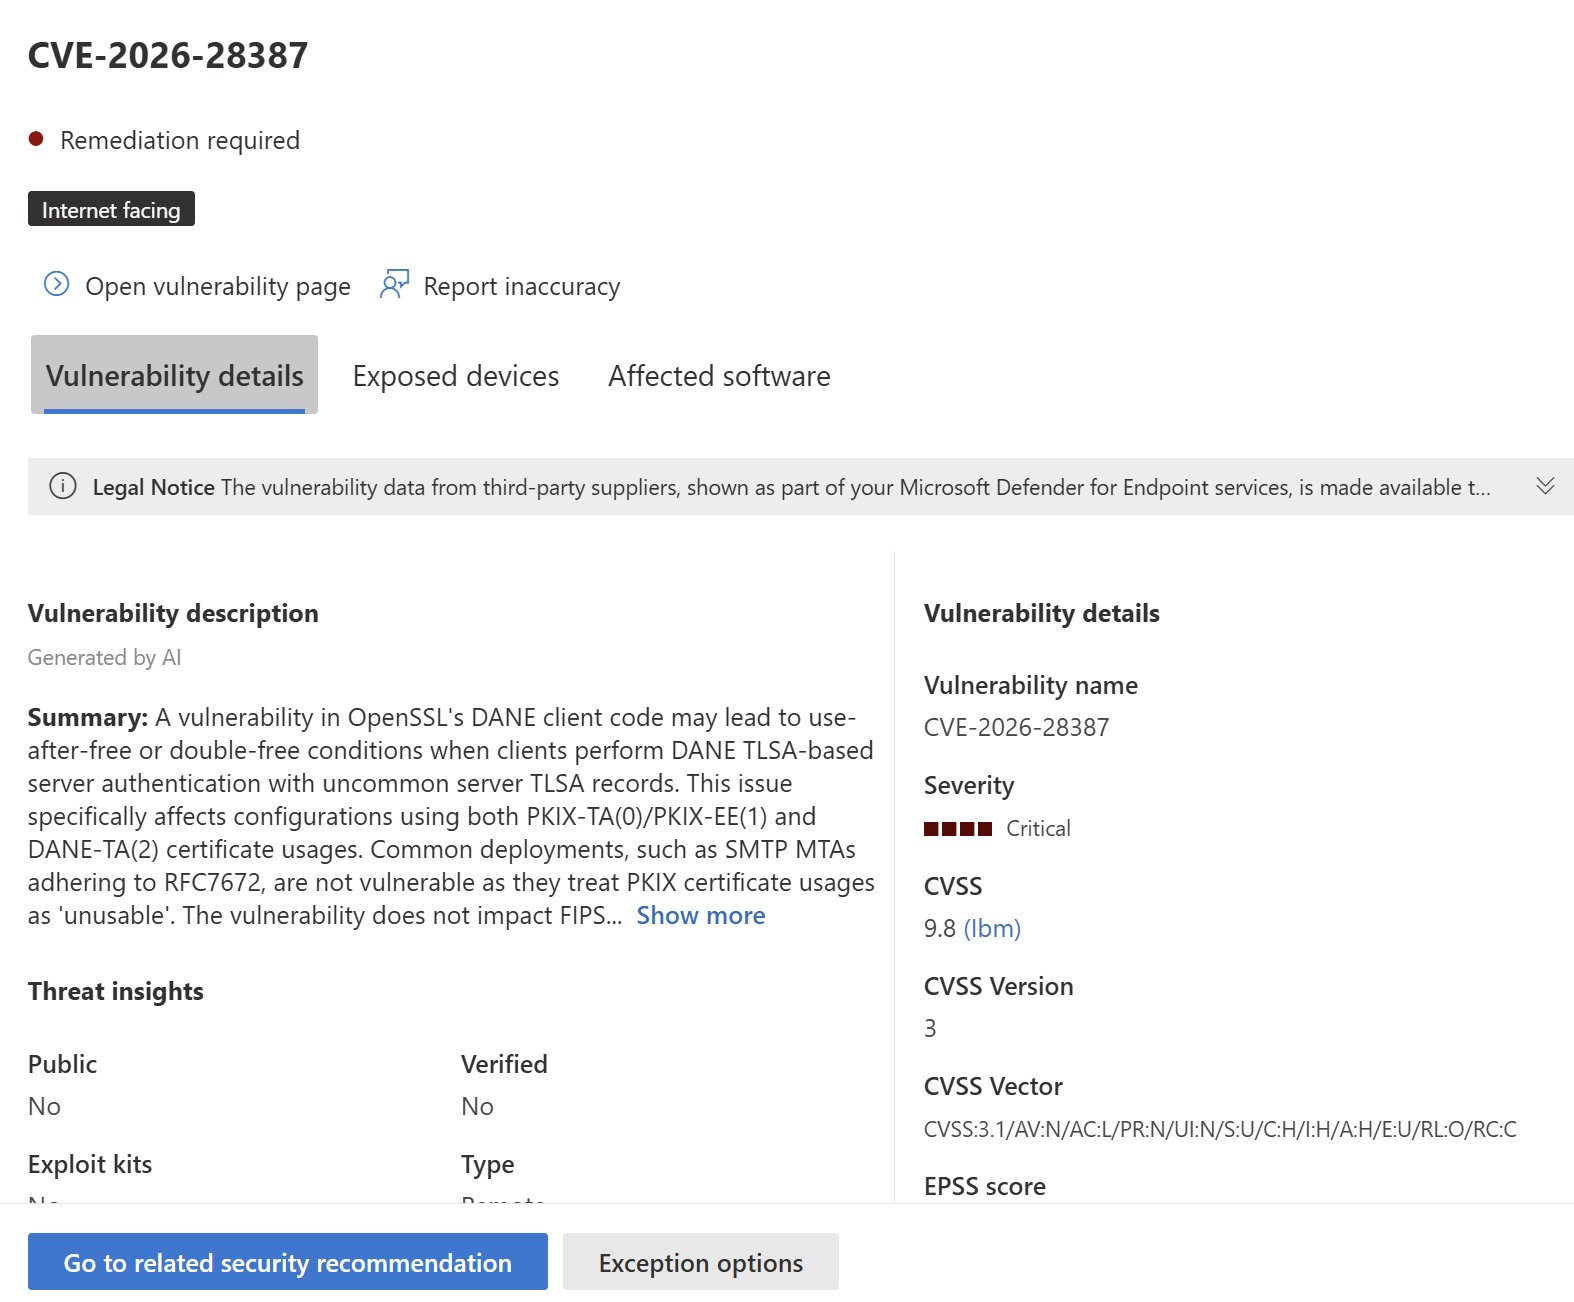
- Open the CVE details page – Navigate via one of the following paths:
- Exposure management → Recommendations → Vulnerabilities
- Endpoints → Vulnerability management → Weaknesses
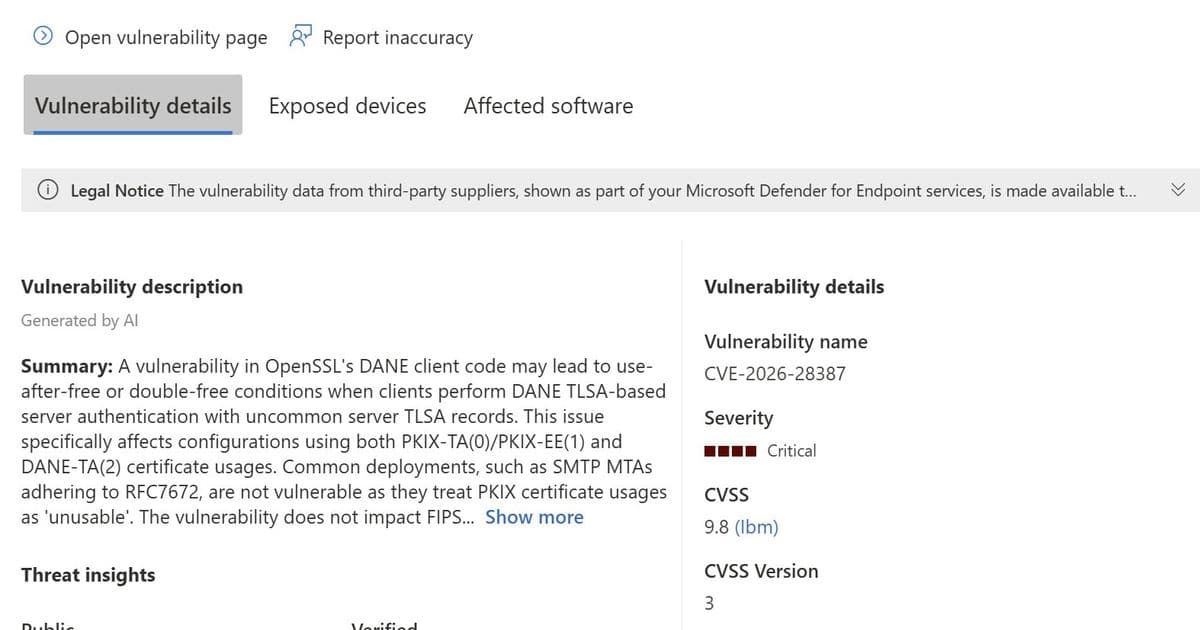
- Select Exception options – At the bottom of the CVE page, click Exception options to open the creation pane.
- Define the scope
- Global – applies to all current and future device groups.
- Device‑group – apply only to selected groups. This is the safer default.
- Choose justification and duration
- Pick from the list (e.g., No patch, False positive).
- Provide free‑form context to aid future reviewers.
- Set a duration (maximum 180 days). Durations cannot be extended; you must create a new exception after expiry.
- Submit – Click Submit. The exception may take up to one hour to propagate; during that window the CVE can still appear in reports.
What changes after the exception is active?
| Area | Change |
|---|---|
| CVE status | Becomes Exception (global) or Partially active (device‑group). |
| Inventory | The CVE disappears from device inventory lists for the selected scope. |
| Exposed devices | Global exception hides all exposed devices; device‑group exception hides only devices inside the chosen groups. |
| Scores | Exposure score and Microsoft Secure Score for Devices adjust based on the scope of the exception. |
| Threat context | Related threat analytics and alerts for that CVE are suppressed for the scoped devices. |
| Other CVEs | Remain active in the same recommendation unless you create additional CVE exceptions. |
Managing existing CVE exceptions
- View – Go to Remediation → Exceptions. The table shows active CVE and recommendation exceptions, with filters for scope, justification, and expiry.
- Export – Use the export button to download a CSV for audit purposes.
- Cancel – You can cancel a global exception or a device‑group exception (provided you have permission on the group). The CVE instantly returns to active status.
- Renew – Because durations are immutable, you must create a new exception after the old one expires.
Best‑practice checklist
- Scope narrowly – Prefer device‑group exceptions to preserve visibility for unaffected assets.
- Document the decision – Add clear context in the justification field; store supplemental records in your ticketing system.
- Align duration with remediation plans – Set realistic time frames that match testing, approval and deployment cycles.
- Review regularly – Schedule a quarterly review of all active CVE exceptions; remove or update any that are no longer justified.
- Avoid broad suppression – Reserve recommendation exceptions for cases where the entire recommendation is irrelevant (e.g., a legacy platform fully covered by a third‑party tool).
Frequently asked questions
- Can I create a CVE exception from the Recommendations page? No. CVE exceptions are only available from the CVE details page.
- Does a CVE exception affect all recommendations that reference the CVE? Yes. The CVE is excluded from analysis wherever it appears for the selected scope.
- Is there an API for CVE exceptions? Not at this time; the portal is the sole interface.
- What happens when the exception expires? The CVE re‑appears in inventory and scoring for the relevant scope if it is still detected.
- Will the justification affect my Secure Score? For CVE exceptions, the score impact depends on scope, not on the justification type.
Closing thoughts
CVE exceptions give security teams the granularity needed to balance risk reduction with operational realities. By applying them thoughtfully—scoped, documented, and time‑bound—you keep the vulnerability program transparent while avoiding unnecessary noise in your dashboards. When the situation changes, simply cancel or recreate the exception, ensuring that your risk posture always reflects the current state of your environment.
For more details, see the official Microsoft Defender documentation on CVE exceptions and the broader Vulnerability management guide.
Comments
Please log in or register to join the discussion