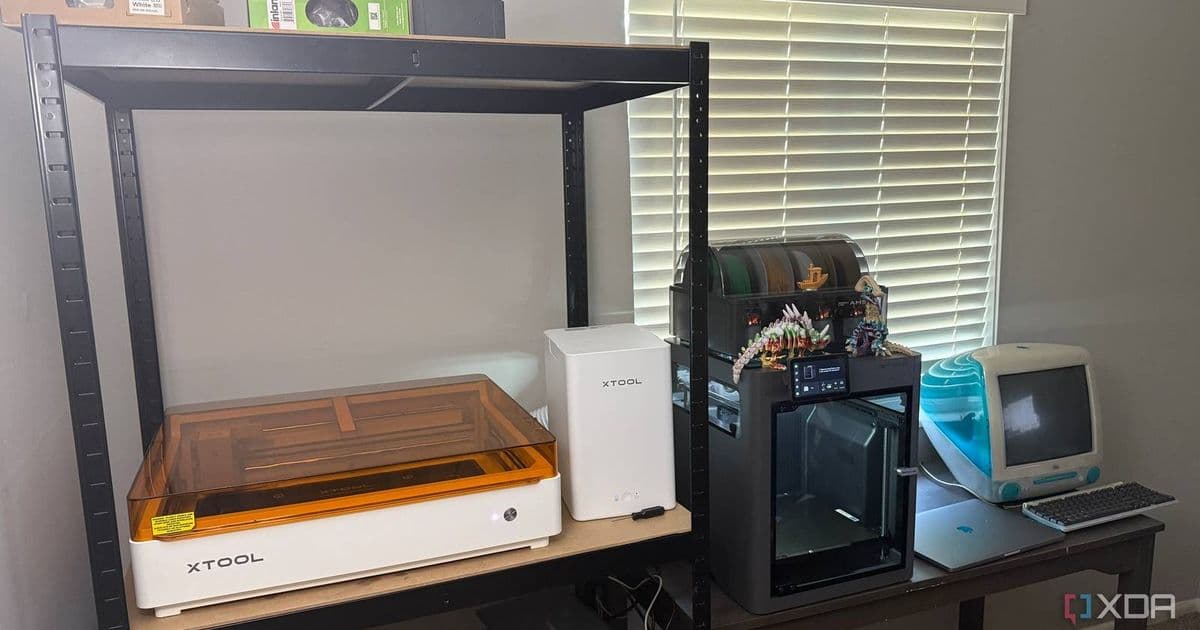
The new xTool M2 combines a 10 W diode laser, CMYK inkjet, dual‑camera alignment and swappable modules in a compact, $599 enclosure, giving makers a single‑device workflow for stickers, leather goods, coasters and small merch runs.
xTool M2 Brings Color Printing, Laser Cutting, and Engraving to the Desktop for $599
By Jeff Butts – May 27 2026
Platform update – what the M2 is
xTool’s latest desktop workstation, the M2, ships with a 10 W diode laser, a CMYK ink‑jet head, and two built‑in cameras that preview the work area in real time. The machine is sold as an enclosed unit with a 16.7 in × 12.5 in (424 mm × 317 mm) work envelope and connects via USB or Wi‑Fi to the free xTool Studio software suite.
Key specifications:
- Laser options – 10 W diode (standard), upgradeable to 20 W diode or 3 W IR module.
- Print head – Six‑color CMYK inkjet (no UV curing).
- Modular tool bay – Swap between laser, printer, cutter and IR marker.
- Dual cameras – Provide live view, auto‑positioning and material detection (the ACS system).
- Ventilation – Optional air purifier; built‑in exhaust port for safe indoor use.
- Price – $599 for the base laser‑plus‑printer configuration; bundles with higher‑power lasers or additional accessories cost more.
The device is positioned between hobby‑grade cutting machines (e.g., Cricut) and full‑size workshop lasers, aiming to reduce the number of separate tools a maker needs on a small desk.
Developer impact – how the workflow changes
1. Unified print‑and‑cut pipeline
Previously, a typical maker would run a design through a desktop printer, cut the printed sheet on a separate plotter, then possibly add laser engraving. The M2 eliminates the hand‑off: the same coordinate system is used for inkjet printing and laser operations, so the printed image and the cut line stay perfectly registered. This cuts down on measurement errors and saves time.
2. Camera‑assisted alignment
The dual‑camera system streams a live view to xTool Studio and highlights the exact spot where the laser or cutter will fire. The software can auto‑detect material edges and suggest optimal placement. For beginners, this reduces the trial‑and‑error phase that usually consumes several minutes of test cuts.
3. Cross‑platform SDK support
xTool provides a REST‑based API and a C#/.NET wrapper that works on Windows, macOS and Linux. The API exposes functions for:
- Loading SVG/PNG assets
- Setting laser power, speed and passes
- Controlling the inkjet head (color selection, DPI)
- Querying camera frames for custom vision pipelines
Developers can embed these calls into existing design tools or build custom automation scripts. The API documentation lives on the official developer portal, and a sample GitHub repository demonstrates a Python wrapper that drives the machine over Wi‑Fi: https://github.com/xtool/xtool-sdk-py.
4. Material considerations
Because the inkjet head relies on capillary absorption, the M2 prints best on porous or coated substrates (paper, cardstock, matte vinyl, coated wood). Smooth surfaces such as glass or metal need a primer or a peel‑off transfer sheet. The laser portion can handle wood, leather, acrylic, and thin metal (with the optional IR module), but users must still provide proper ventilation.
Migration – moving from separate tools to the M2
- Assess current inventory – List the printers, cutters and lasers you already own. If you already have a high‑power laser, the M2’s 10 W module may feel limiting; consider the 20 W upgrade bundle.
- Plan software integration – Replace separate driver installations with the single xTool Studio package. For existing workflows that rely on Adobe Illustrator or Inkscape, install the provided plug‑ins that export directly to the M2’s API.
- Test material combos – Start with a simple sticker project: print a CMYK design on matte cardstock, then use the cutter to trim around the printed shape. Verify alignment using the camera preview, adjust the offset if needed, and record the settings as a reusable preset.
- Add ventilation – If you plan to run the laser for more than a few seconds at a time, mount the optional air purifier (available on the xTool store) and route the exhaust to an external vent.
- Iterate and expand – Once comfortable with print‑and‑cut, experiment with engraving leather tags or cutting thin acrylic sheets. The modular bay lets you swap the 10 W laser for the 3 W IR module to mark polymers that respond to infrared wavelengths.
Real‑world examples
- Leather accessories – Engrave a monogram on PU leather, then print a matching color label and cut it out in one pass.
- Stone coasters – Print a subtle background on a pre‑coated stone tile, then laser‑etch a contrasting border for a professional‑looking finish.
- Custom stickers – Print full‑color graphics, cut the outline, and optionally add a shallow laser‑etched matte border for tactile contrast.
These projects illustrate why the M2 feels less like a novelty gadget and more like a practical desktop workstation for small‑batch production.
Bottom line
The xTool M2 packs a surprising amount of capability into a $599 box. By merging CMYK inkjet, a 10 W diode laser, dual‑camera alignment and a modular tool bay, it gives makers a single platform for print‑and‑cut, engraving and basic IR marking. The trade‑offs are clear: color printing works best on porous media, the base laser is modest in power, and extra modules raise the total cost. For hobbyists who want to move beyond a blade cutter without investing in a four‑figure laser, the M2 offers a compelling, less intimidating entry point.
Related resources
- Official product page: https://www.xtool.com/m2
- xTool Studio download: https://studio.xtool.com
- Developer API docs: https://developer.xtool.com
- Sample Python SDK: https://github.com/xtool/xtool-sdk-py
Comments
Please log in or register to join the discussion